As many of you know, moving is
ex.pen.sive! No matter how hard to you try to keep things cheap... the cost of boxing and moving your stuff is never the only expense. Trying to fill a space that is quite a bit bigger than our last obviously has required purchasing some new stuff. Since we know we won't be living here longer than a year {
depressing, let's not talk about it} I've had to really reign myself in and only buy what we
need and not get everything I
want since most of it probably won't be coming with us. There will definitely be some walls that remain blank and some spaces that remain empty in this house, but we're ok with that!
Aren't we? Ya, ya, ok... we are.
Homegoods and Target have been my go-to stores for the odds and ends we've needed to make this place feel "finished" ~ wall shevles, faux plants, rugs, lamps, etc. One room I really wanted to make feel complete was the office... since that's where I'll spend 90% of my summer studying for the bar exam. I tried to keep the room bright and fun, and for the most part I used things we already owned. The only new additions to the room are the rug under my desk, the floating shelves on the wall, and the lamp.
 |
| My study space |
 |
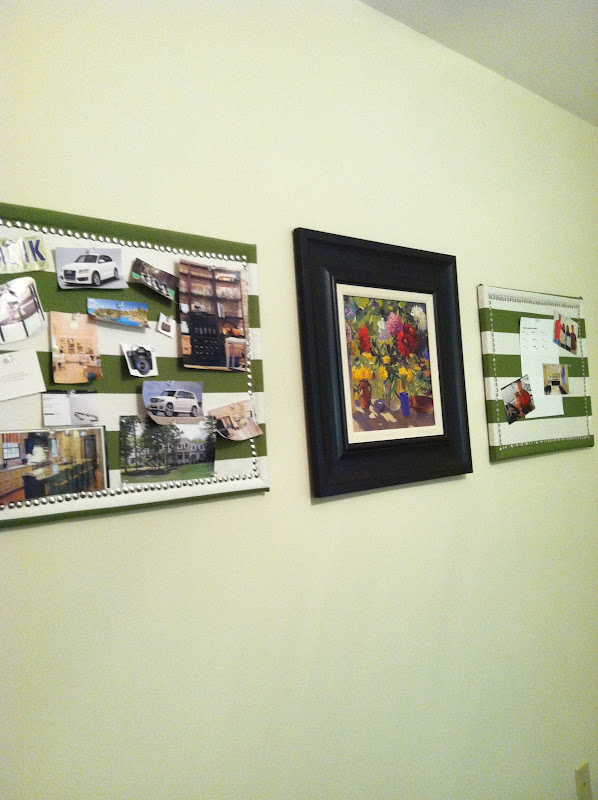
| Our bright, happy vision boards |
 |
| Andrew's adjusting table gets a place to live in the new office too! |
We never had a desk lamp, and it always annoyed us when we'd study at night... to the point where we just didn't study in the office. So I picked up this plain white lamp at Target (the RE line, it was like $7 I think). The white shelves and lamp against the lighter-than-our-old-apartment wall color looked really blah. But in the interest of saving $$$ I decided to just fancy up what I already had rather than running out to buy new stuff!
Using a 40% off coupon at Michaels, I picked up some white rosette ribbon ($6) and pulled out some fabric glue I had on hand from the dollar store ($2). After cutting the ribbon down to fit the base of the lamp shade, applying a thin line of fabric glue (x3), pressing on the ribbon and letting it dry... I had a fancy pants lamp that I
love in under 5 minutes and for about $12.
 |
| Plain lamp before |
 |
| Ribbon and fabric glue |
 |
| Glue... |
 |
| Ta-da! |
It looks the cutest when the room is lit only by the lamp light... but this is really hard to capture well using my phone. {
Still no sign of our camera, for those of you following along!} I had some ribbon left over, so I decided to glue a little embellishment on the mason jars I am using to hold pens and highlighters too.
 |
| Can you notice a difference?? |
 |
| Cute and easy! |
 |
| Before & After |
There ya go. An easy, inexpensive way to add a little interest to an other wise boring lamp! I'm excited to have something a
little prettier to stare at while listening to online lectures for hours on end about subjects far less exciting than home decor... :)


That is so cute!! Way to be creative on a budget- Dan and I have run into the same problem of knowing we will only be spending so much time in one apt for a year or so.. so it's hard to justify going crazy decorating a space we'll be leaving. You're doing a good job :)
ReplyDelete